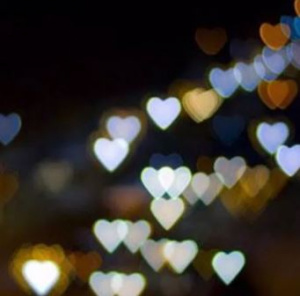
Here are some Photo Hacks to try out!
In today’s blog, I’m going to go over 6 Photo Hacks for you to use. The amount of photo hacks out there are endless, so I’m going to go over a few of them. Using different photo hacks/ tricks will drastically improve your photos and expand your skills. Let’s walk through 6 photography hacks that you can do at home.
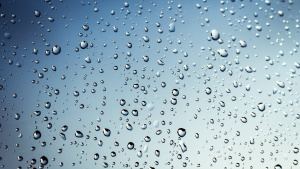
- Rain Effect
For this effect, all you really need is a picture frame roughly 8×10 for example, and a spray bottle filled with water. You can then take the cardboard out of the frame and keep the glass secured inside. After you have the glass secured, spray some water onto the glass. This will give your image unique look. This effect makes it look like you are taking the picture from outside a window, while it’s raining.
2. Fairy Lights
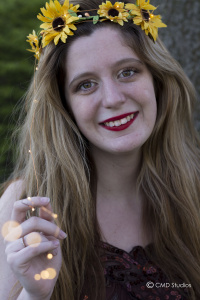
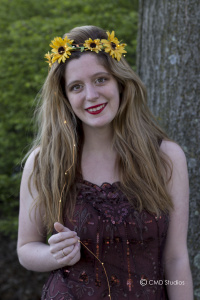
This effect is one of my personal favorites! There is so much you can do with this effect which makes it so great and creative. You can go to any craft store (Michaels, Hobby Lobby, Craft Warehouse etc.) and find these. If I were you I’d get the 10′ one because it’s better to have more than you need than not enough. Again, you can do so much with these lights from putting them on your lens, your subject or in the background it looks great! Below are a few pictures from a photo shoot to give you an idea of what you can do.
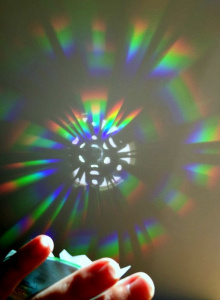
3. Prism
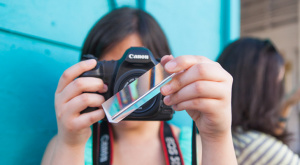
Using this effect will give your photos a great look as well. There is a lot you can do with them just like the fairy lights I mentioned above. You can put the prism in front of the lens and shoot through it, or even put it in the corner of your subject. This creates a soft feeling to your image. When focusing make sure you are focused on your subject first in manual mode. this way, your subject is already in focus and sharp, without having the camera try to focus on the prism. You can also angle the prism away from the lens using sunlight to add different effects. When you are first using this method just use trial and error. See what works for you, and figure out new creative ways you can use the prism in your photographs.
4. The Rainbow Effect
This effect is very simple and acts as a reflector for your subject. All you need is a CD using the bottom part of it as your reflector. You can angle the CD using the sunlight and bounce a reflection onto your subject. This will create a rainbow color effect to your subject. Which gives your image more color, and more of a pop in your image. You can use this reflection in so many different ways to capture the image you want.
5. Bokeh Shape Effect
Here is a short list of what you will need for this method:
- A sheet of Black Paper
- Pencil
- Scissors
- Tape
- Craft knife (to create different shapes)
- lights (you can use fairy lights for this)
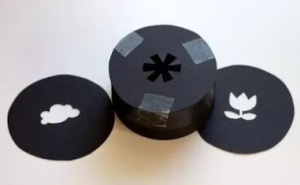
First, create a round tube that will fit onto your camera lens. Create a piece of paper that is the size of the hole in the tube. After that, cut out a shape in the center of the circle then attach it to the tube. From here your aperture should be low shooting in manual mode towards your lights you have as your subject. You will need to adjust the focus ring to get the effect/shape you want. This effect is a fun way to show your creativity.
6. DIY Soft Focus
For this effect, you can use a clear plastic square, elastic bands, and vaseline. With your clear plastic paper, add some vaseline to it. Cover the lens with the clear plastic and attach the bands over the lens holding it in place. This will give your image a soft look and a creative effect to it as well.

Give these photography hacks a try in your next photo shoot!
